Y’all, April is kicking. my. behind. This is typically the busiest time of the year for us, and yet, every year, April comes at me like a train of crazy. I have half a dozen blog posts started, but not finished — which is pretty much the state of my house right now, too.

Our “focus areas” of the moment are the kitchen and dining room, so here’s a little project I whipped up last week for the kitchen. With a two-year-old and a houseful of allergy sufferers, I keep tissues in every room, but let’s face it: decor statements they’re not. However, my design philosophy has always been functional first, pretty second.
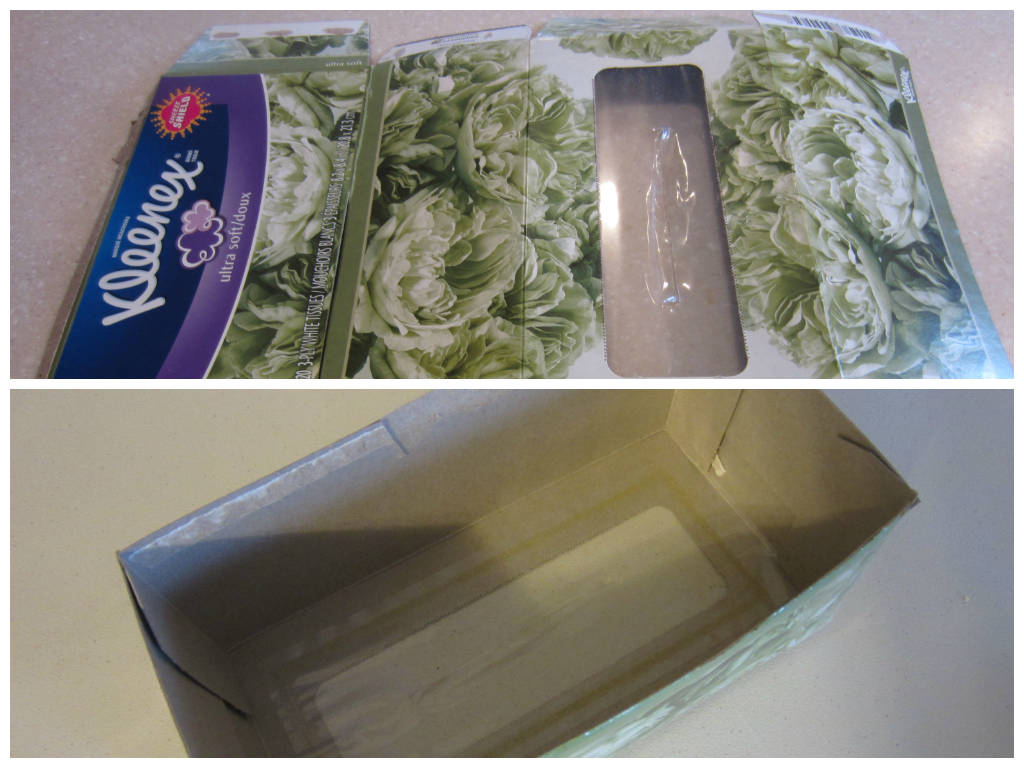
I started with an empty Kleenex box, and unfolded it flat. Using scissors, I cut off the bottom panel. Then, I refolded the box and used clear packing tape on the ends to re-form the box, so you have a Kleenex box that’s open underneath.
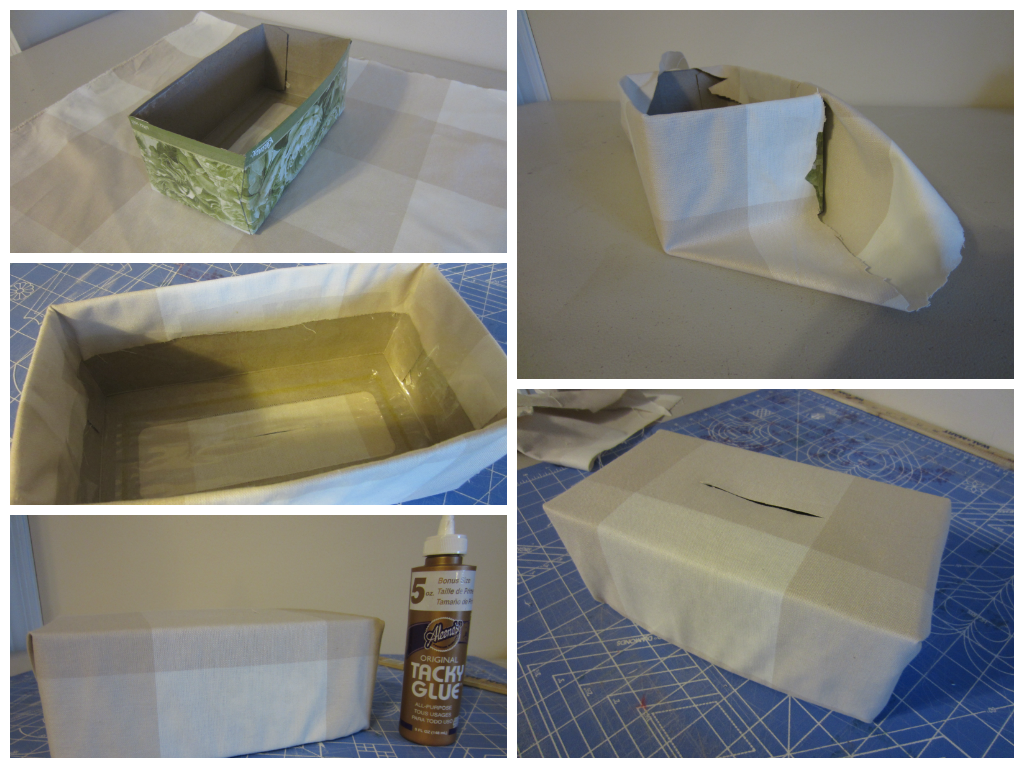
Then, I covered it just like you would a gift, using the same buffalo check fabric I used in my entryway art. From the bottom, tuck the fabric into the box sides. I used clear packing tape to secure it on the inside, and craft glue to secure the folded edges on either end.
I turned the box upside down and used an Xacto knife to cut a straight slit in the fabric along the same opening for the Kleenex to be pulled through. Last, I added some fray check to either side of the slit to make sure the fabric doesn’t fray as it’s used. Then, I opened a full tissue box, removed the stack of tissues and added it to the covered box, threading the first tissue up through the slit in the fabric. I used the bottom box panel from the first step to keep the tissues from falling out, since I put my tissues up on top of a vintage scale, but I wouldn’t have bothered if it sat on a table or counter.

Small change, big results. Kind of like what May will (hopefully) do for my to-do list.
